Tuesday 31 August 2010

Back to Work

For the past six weeks I've had no degree work or any classes to teach. There has been time to potter in the garden, bake cakes, work in my sketchbook and spend lots of time writing blog posts. I also had lists of all my own personal work that I wanted to develop and take forward but somehow I haven't quite got around to that! But tomorrow it is back to work proper...

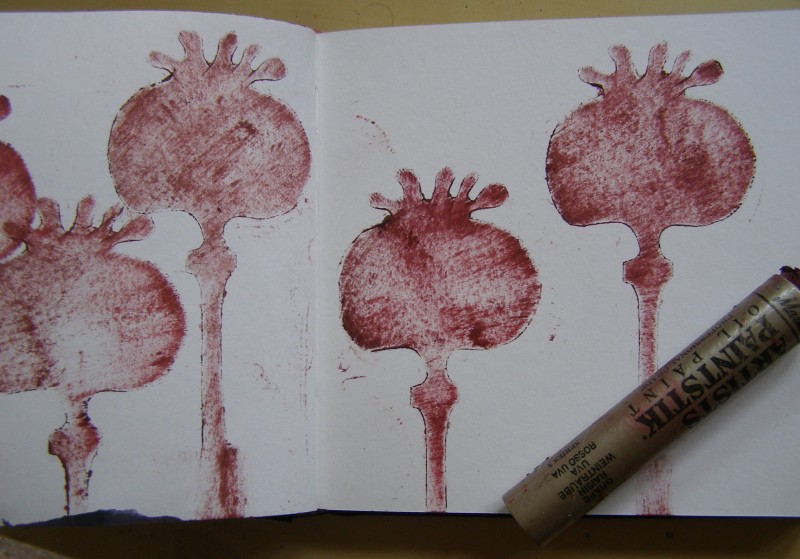
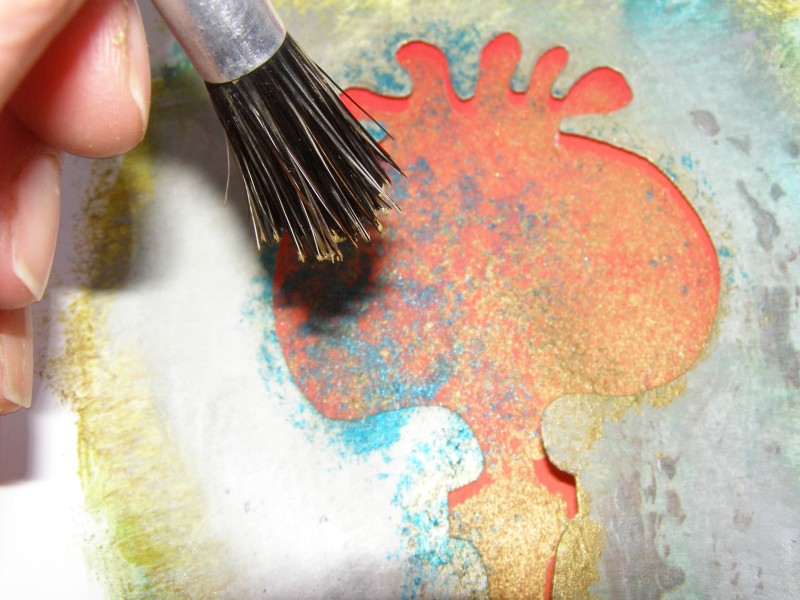
It is the first meeting of our new group... the follow on from my City & Guilds class. We'll be looking at rust and gold during the autumn term... and of course working from our sketchbooks.

It will be interesting to see how the sketchbooks have progressed! (That was their holiday homework!)

And then next week my new degree module starts. To be honest, I'm looking forward to getting back to work as I miss the structure to my days and weeks... no doubt I won't be saying that in a few weeks time when I'm snowed under.
But for now I'm glad to be working again although I suspect there will be less cakes and blog posts.

Monday 30 August 2010

The Ashwell Show

Well... despite a distinct chill in the air the sun was shining and this was my stall at the start of the Ashwell Show. (I know I should have ironed the tablecloth!)

My little demo area was all set up and ready to go.

And my able assistant was smiley and welcoming.

There were hundreds (if not thousands) of people walking through from 9.30 am until 5 pm. They loved the sock monsters... laughed at the tea cosies... admired the embroidery. And this is my stall at the end of the day.


Can you spot the difference? Mmmm... a couple of tea cosies and a couple of sock monsters but not a lot else is missing. It has felt like a long day and lots of weeks making stuff for not very much sold. But I'm not disheartened as it seems to be a general trend. Craft items are a luxury during a recession. And on the bright side the show was successful, a great day out for lots of people and I've still got lots of stock for the next time. Not sure I can be bothered to restock the Etsy shop... but if you see some thing you like do let me know.

p.s. Thank you for all your lovely comments on my last post wishing me luck... I've not replied because I was still stitching buttons onto sock monsters til 11pm last night. But thank you... all read and appreciated!

Saturday 28 August 2010

Ready for Market

There have been more flowers... a whole garden full...

Which have been sewn up into ponytail bands. More mass production for the Ashwell show on Monday. All I seem to have done for weeks is iron and stitch and clip and package... and then repeat the process over and over again.

There have even been a few more of these chaps that have made their way into my basket.

But if there is one thing I have learned over the past few weeks is that making to sell is not what I enjoy. I hate the whole production line aspect. I enjoy the creative side to what I do and there is always a thrill when someone buys something I have made, but I prefer to create one off, individual pieces. And you can guarantee no matter how many ponytail bands or corsages I have made someone will always ask.. "Have you got one in yellow?" (No!) So my future is not going to be craft markets and the like. But meanwhile if any of you find your way to North Herts on Bank Holiday Monday maybe I'll see you at Ashwell show... lots of equestrian events, side shows, childrens rides, food,... and of course, a craft marquee... plenty to do for the whole day for all the family. Have a great weekend!

Thursday 26 August 2010

Finest Flowers

My friend's partner often buys her lovely flowers from a well known supermarket... that come "finely" wrapped in pretty grey organza. Knowing that I'm rather fond of pretty fabrics, this often gets passed in my direction.

So for her birthday it seemed like a fun idea to make her a special flower from the organza.

Something with a bit of sparkle...

and some pearly stamens...

It's just a pity I didn't have time to make her a whole bunch of them!

Tuesday 24 August 2010

Double Choc Chip Muffins...

for Miriam!

From Sketchbook to Stitch

Having explored the poppy seedhead motif in my sketchbook, I decided it would translate well into stitch using layers of sheer fabrics.

So I decided to try it out by making a book jacket for my sketchbook.

As well as the red and blue sheer fabrics I used a sparkly type of iron-on transfer material* that I've been trying out for Angela

I confess I wasn't too excited by the glittery sparkly stuff when I first tried it but I think it works quite well here layered up under some black chiffon and I quite like it.

I also confess that the colour scheme was largely dictated by the materials I had to hand but I actually quite like that too.

And I feel encouraged to experiment a bit more with these shapes

And possibly even the sparkly stuff!

I might remove the book jacket until I've finished working in my sketchbook though as knowing me it will be covered in paint in no time.

*Tissue Glitter Thermocollant

Saturday 21 August 2010

Sketchbook Project VIII

In the last sketckbook post I suggested that you could also stencil directly onto the white page.

Which is what I've done here using Markals and a toothbrush again.

I then added a wash of water based colour which gives a more subtle shadowy effect than when you stencil onto a ready coloured page.

And if you use different colours, it looks different again.

The point here is don't just try each technique once and think that's it... try it it with different colours, different media, different images etc. As always it is about exploring and playing to see how far you can take each idea. By starting with one of your initial drawings and developing it in this way you are exploring design ideas such as shape, colour and line, which in turn will help develop your design ideas when translating them into textiles. This in turn will make your finished work much stronger... trust me!


An example of this type of playing occured when I wondered what would happen if I stencilled onto this piece of recycled wrapping paper (I never throw wrapping away!)

I chose a stencil colour to blend with the glitzy foiling on the paper and then stuck it down in my sketchbook.

Then I washed over the whole image with toning colours.

I love the way the resulting image shimmers and shines, catching the light... like a precious piece of Indian textile. I'm not sure where I will take this idea but I have visions of shimmering brocades!


I'll be back tomorrow with some stitching that has resulted from this exploration of the poppy seedhead shapes. (I'm not sure why it still says Saturday at the top of this post... I've changed the post options three times now but it keeps reverting back!)

FOQ and Bonnets

I think I need to own up. The fact that I spent so little money at the Festival of Quilts on Thursday had nothing to do with willpower or self restraint. I spent the day with a dear friend who I hadn't seen for almost a year and although we managed a good look at the quilts there was so much catching up and chatting to do that there wasn't much time left for shopping... especially if you include the time spent queuing for food, only to find there were no sandwiches left... and then the time spend looking for somewhere to sit down to eat our lunch of cake! Then when we did brave the crowds to shop it was somewhat overwhelming, plus there were more people to chat to and by then it was time to go home. I'm almost tempted to go again tomorrow just to shop!

But the show was excellent. I loved seeing all the new graduates' work - so inspiring! I find the standard of the quilts does vary enormously, with a few really poor examples but there were several stunning quilts on display... including this one from Julie... It really did work cutting it into strips!

And Carolyn's lovely St. Ives quilt. Both were much more beautiful than my poor photographs would suggest. My friend Sandra also has a stunning quilt in the show which I forgot to photograph (sorry Sandra!) but you can see it on her blog here.

One of the few things I spent money on was a pattern to make a bonnet. Christina Henri is an artist from Tasmania who has set up a project called Hearts and Roses to commemorate the 25,566 women convicts who were transported to Australia from 1788 to 1855. She aims to have a hand made bonnet for every single one of the women - so far she has more than 17,000 and she hopes to reach her target by 2012. It was quite overwhelming to see the display of so many of the completed bonnets, and certainly thought provoking to consider these women as individuals many of whom had commited such petty crimes.

Each bonnet is embroidered with the name of the woman, the name of the ship on which she was transported and the year of her transportation.

I spent yesterday afternoon making a bonnet for Mary Moran, a 20 year old Irish girl who was sentenced to seven years for stealing clothes and was transported to Tasmania in 1842 on the ship Hope.

I'm not entirely sure Mary Moran would have sported a beard quite like my model...

But it was very good of him to agree... (I suspected he quite liked it really!)

This will now be sent to Christina in Australia where eventually it will become part of a permanant display.

If you would like to take part you can find out more about the project on Christina's website:

Friday 20 August 2010

Sketchbook Project VII

Oh ye of little faith... I resisted temptation and spent a grand total of £6.50 whilst at the Quilt show yesterday. But that's a post for another day because today it's back to the sketchbooks and some stencilling!

First of all colour some pages in preparation. I've used some spent procion dye for this but any water based medium will work. Then you need to select a strong image from your previous pages that can be reduced to an outine shape. Draw this into some card. Cereal packet weight will be fine. If you want to do a lot of stencilling then it's worth cutting your stencils from acetate sheets but I find card works well enough for a few applications.

Carefully cut around your outline. It's worth doing this carefully because then you can use the cut out shape too.

Position your stencil onto the page. I use a little bit of spray mount to hold it in position because I never seem to be able to stop the stencil slipping if I try to hold it in place, although I'm sure some masking tape would work too.

For the first exercise I've used Markal paintsticks (Shiva sticks) which are pure pigment held in an oil and wax mixture. If you are not familiar with them I can recommend this book by Ruth Issett which is available from ArtVanGo (along with the paintsticks)

Apply the paintick around the edge of your stencil. Apply generously and use more than one colour.

Now using a toothbrush (I recommend you use one just for this and not your husband's), brush the colour from around the edge of your stencil into the space on your page.

When you feel you have transferred enough colour, lift your stencil and your should be left with a clear strong image. You could of course do this onto a white page and then apply your water based paint. The paintstick will provide a wax resist as in the last sketchbook post.

You can then repeat the process on different parts of the page. If you use the same stencil without applying additional paint stick you get fainter, shadowy images. (I'm already thinking sheer fabrics here!)

If you don't have paint sticks you can still use the stencils with acrylic paints or some other thicker paint medium. Put your stencil back on the page as before.

Load up a brush (preferably a stencil brush which has a flat end) with paint and then remove any excess paint on a scrap of paper. Your brush should be quite dry.

And with quick jabbing movements apply the paint through your stencil.

Use more than one colour to create dappled shadowy effects.

When you've applied enough paint, lift your stencil and your image should be transferred to your sketchbook.

At this stage don't forget the piece of card you cut from your stencil, as this can be used as a mask. Stick it down on your page with masking tape or spray mount.

And using paint or paintsticks as before apply colour around your mask.

Lift off and you are left with a negative image.

I also quite like the effect of the paint on the mask and think this might get stuck into my sketchbook too!